Zoomとの連携方法
◆ 事前準備(ユーザーのZoomアカウント登録)
【1】 eeasyにユーザーログインし、「個人設定」にアクセスする。
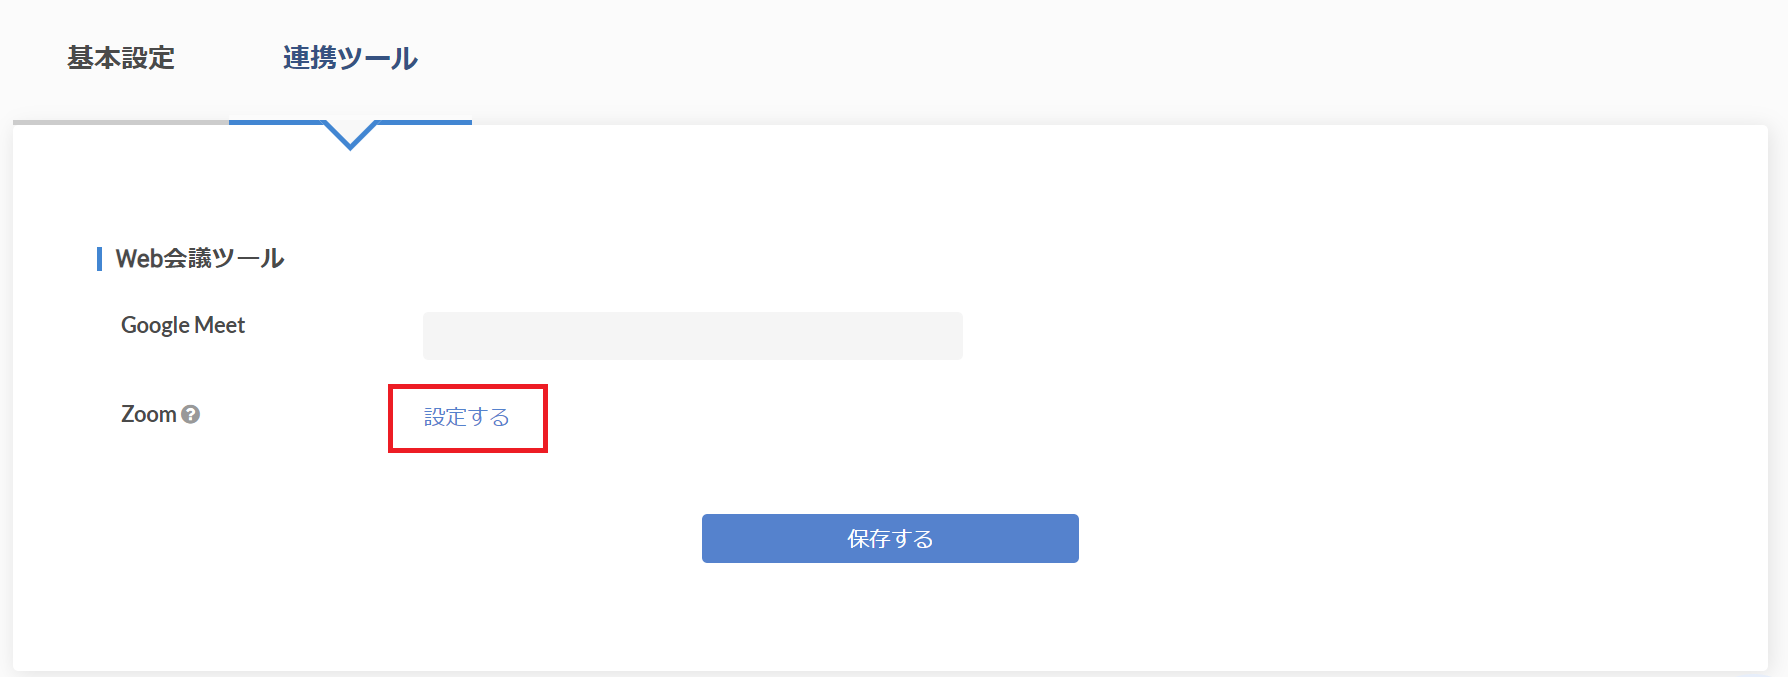
【2】 「連携ツール」のタブをクリックする。
【3】 Zoom横の「設定する」をクリックする。
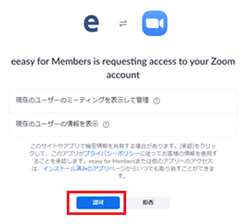
【4】 Zoomの認証ページに遷移後、自分のZoomアカウントでサインインを行い、連携を「認可」してください。
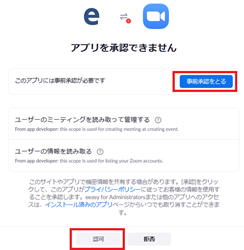
eeasyアプリを「事前承認する」という手順が必要になるケースがあります。
(1) 事前承認が必要であり、自分のZoomアカウントが「オーナー/管理者」の権限を持っている場合
⇒ 連携画面にて「事前承認」し、その後「認可」をクリックください。


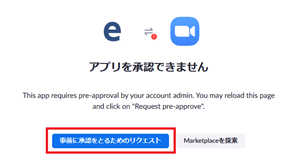
(2) 事前承認が必要であり、自分のZoomアカウントが「オーナー/管理者」の権限を持っていない場合
⇒ まずは、自社のZoomのオーナー・管理者に対し、「事前承認」のリクエストを送信ください。
オーナー・管理者が「事前承認」した後は、(3) の手順により連携を「認可」できるようになります。
(3) 事前承認の必要がない場合、または、既に事前承認が完了している場合
⇒ Zoomの連携画面にて、「認可」をクリックください。
【5】 eeasyの「連携ツール」画面に遷移が戻ってきたら、ページ最下部にある「保存する」をクリックください。
これにて、ユーザーとしてのZoom連携の準備は完了です。
【6】 続いて、ZoomURLを自動発行できるように設定します。
「シーン設定」の「シーン共通」をクリックください。
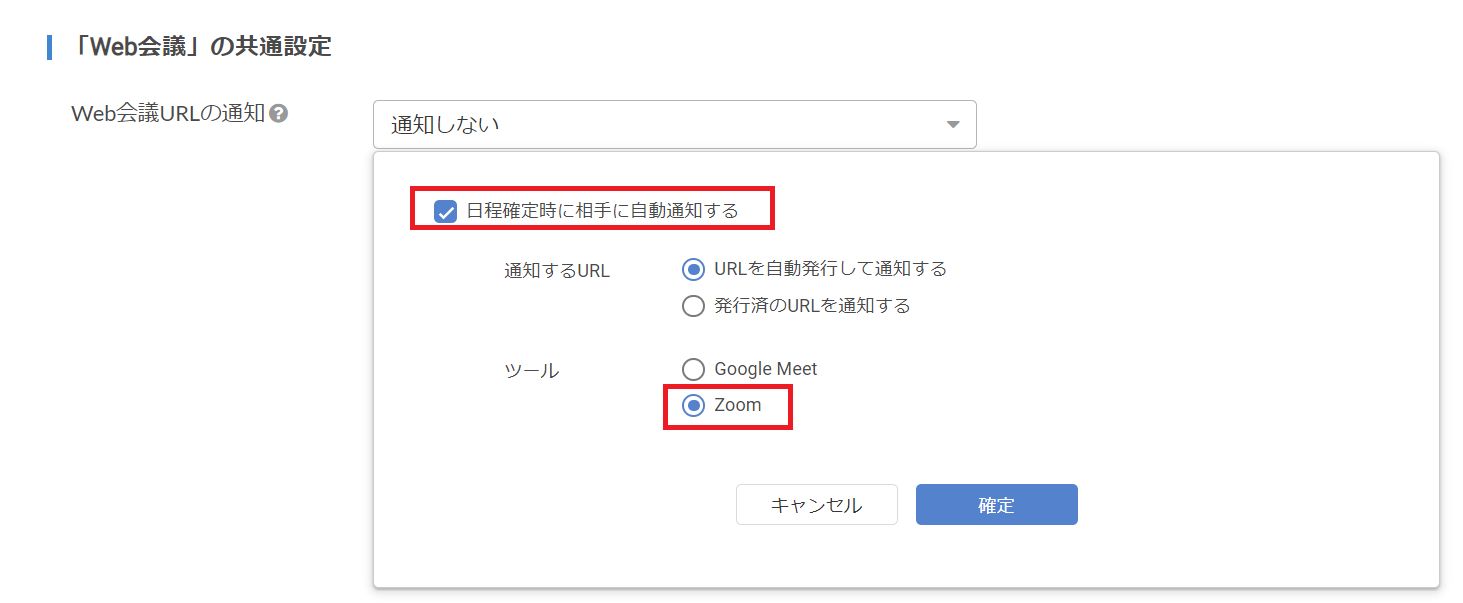
【7】 「Web会議」の共通設定」の「日程確定時に相手に自動通知する」にチェックを入れ、
Zoomを選択し、「確定」してください。
【8】 ページ最下部にある「保存する」をクリックください。本設定でZoomURLの自動発行が可能になります。
◆ 事前準備(複数Zoomアカウントの一括登録)※法人管理者向け機能
当該社員が「打合せ参加者」となる日程調整が行われた場合でも、Zoom会議のURLを自動発行することができます。
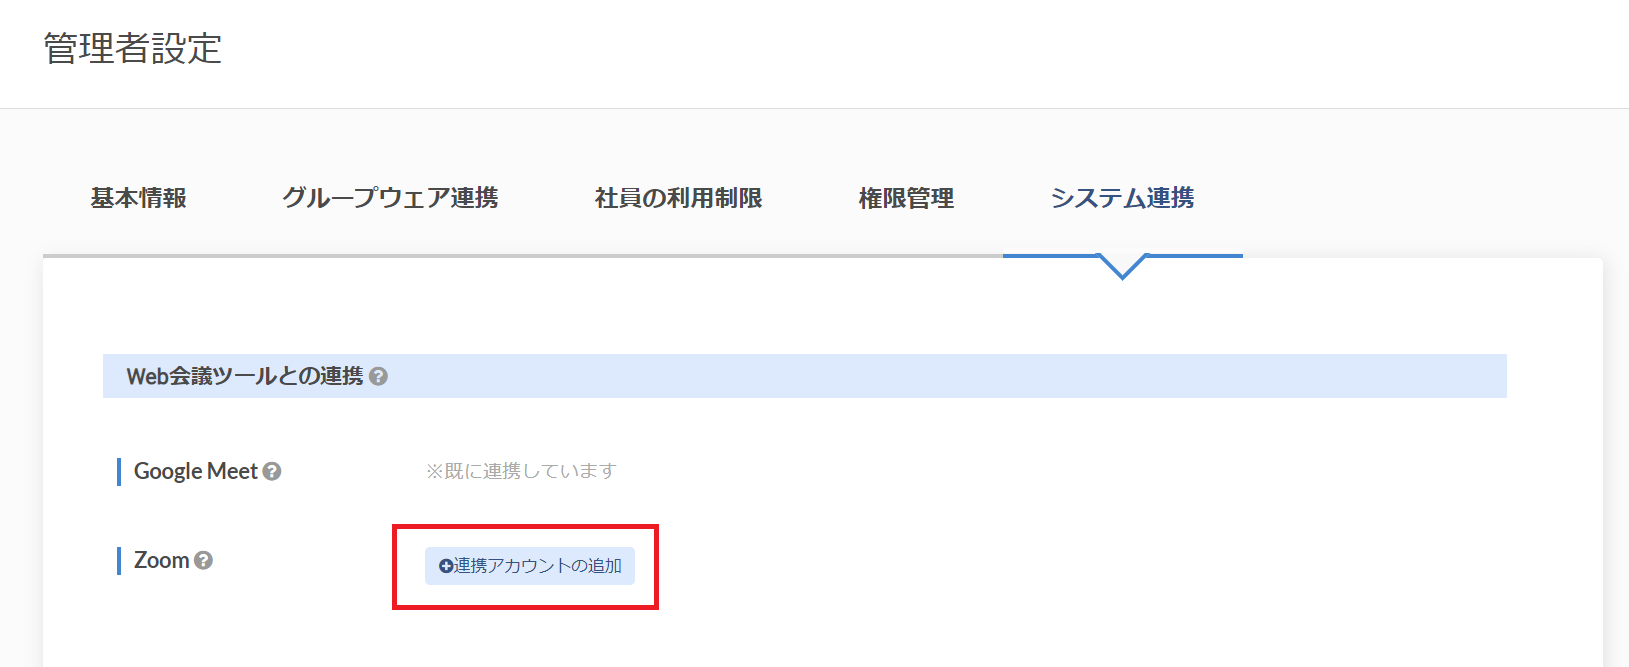
【1】 eeasyの法人管理者となっているユーザーでユーザーログインし、「システム連携」にアクセスする。
【2】 「Web会議ツールとの連携」の項目にて、Zoomの「連携アカウントの追加」をクリックする。
【3】 認証するZoomアカウントのZoom上の権限を選択する。
※オーナー・管理者の権限をもつZoomアカウントを使用すれば、配下の複数アカウントを一括して使用可能な状態にできます

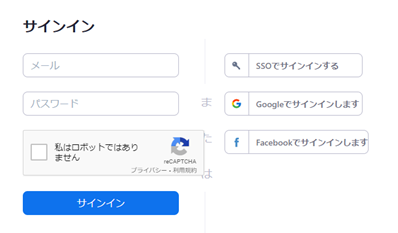
【4】 Zoomの認証ページに遷移後、対象となるZoomアカウントでサインインを行い、連携を「認可」してください。
eeasyアプリを「事前承認する」という手順が必要になるケースがあります。
(1) 事前承認が必要であり、自分のZoomアカウントが「オーナー/管理者」の権限を持っている場合
⇒ 連携画面にて「事前承認」し、その後「認可」をクリックください。
(2) 事前承認が必要であり、自分のZoomアカウントが「オーナー/管理者」の権限を持っていない場合
⇒ まずは、自社のZoomのオーナー・管理者に対し、「事前承認」のリクエストを送信ください。
オーナー・管理者が「事前承認」した後は、(3) の手順により連携を「認可」できるようになります。
(3) 事前承認の必要がない場合、または、既に事前承認が終わっている場合
⇒ Zoomの連携画面にて、「認可」をクリックください。
【5】 eeasyの画面に遷移が戻ってきたら、以下のように認証したZoomアカウントが一覧上で確認できます。
※本手順により、「認証したアカウント」だけでなく、「連携アカウント」となっている複数のZoomアカウントで
Web会議URLが自動発行できる状態になります。
なお、会議参加者とZoomアカウントは、メールアドレスの一致により自動的に紐づけられます。

◆ ご利用方法
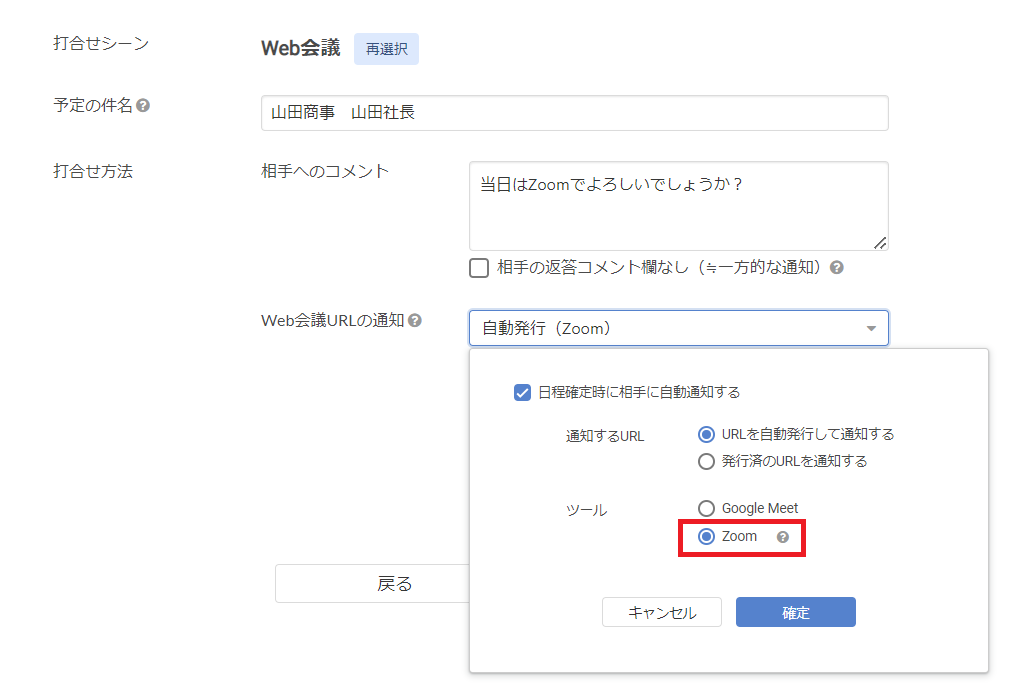
打合せシーンが「Web会議」の場合に、「Web会議URLの通知」で "Zoom" が選択できるようになっています。
※「打合せ参加者」の中に、Zoomの使用可能状態の人がいることが前提となります。
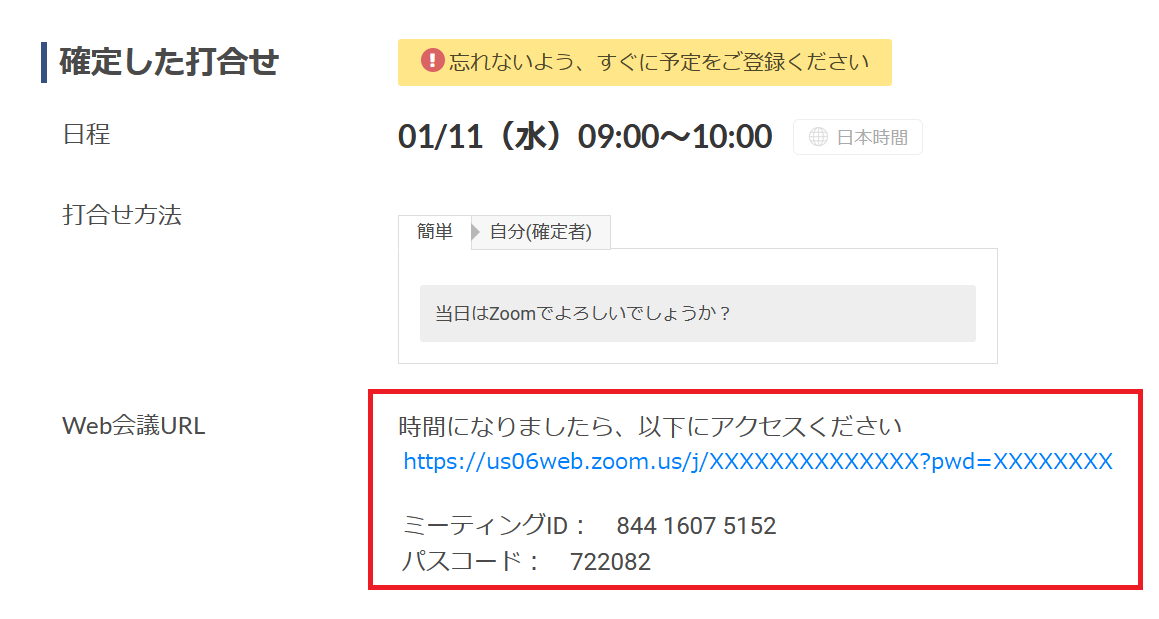
ZoomURLを自動発行する設定で日程調整した場合には、
打合せの日程確定と同時に、調整相手および自社関係者にZoomURLが通知されます。

◆ 連携解除方法
ユーザーのZoomアカウント解除
先ず「通知しない」に設定変更をしてください。
【1】 eeasyにユーザーログインし、「個人設定」にアクセスする。
【2】 「連携ツール」のタブをクリックする。
【3】 Zoom横にある「連携解除」をクリックする。
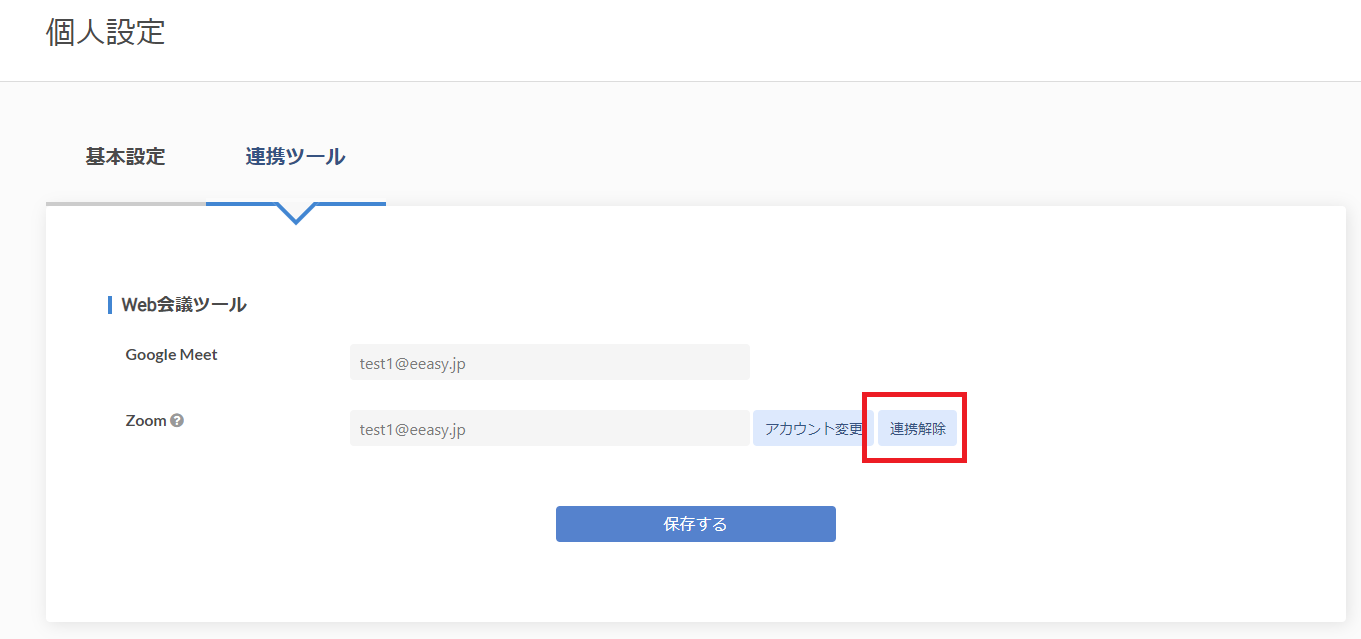
【4】ページ最下部にある「保存する」をクリックください。
複数Zoomアカウントの一括登録の解除
【1】 eeasyの法人管理者となっているユーザーでユーザーログインし、「システム連携」にアクセスする。
【2】 「Web会議ツールとの連携」の項目にて、連携解除を行うZoomアカウントの「連携解除」をクリックする。

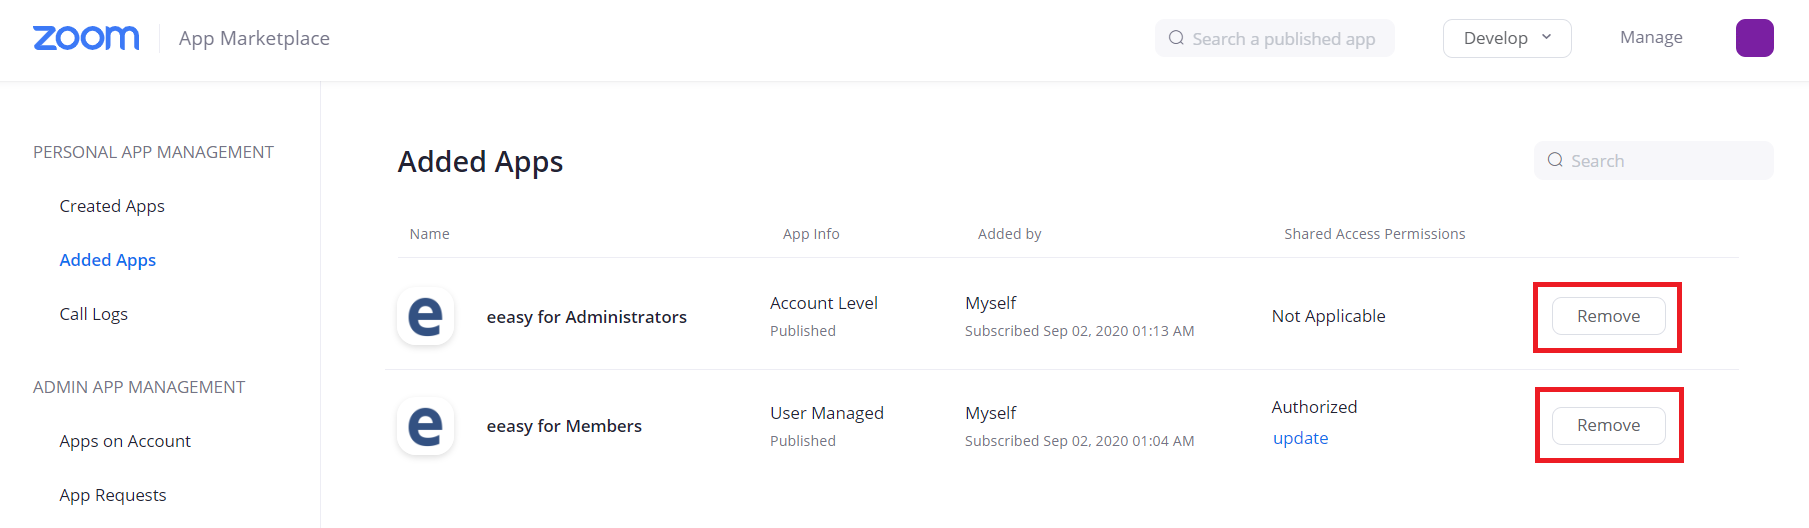
Zoom App Marketplaceでのアンインストール
【1】 Zoom App Marketplaceにアクセスし、アンインストールしたいZoomアカウントでログインする。
【2】 「Manage」にアクセスし、「Added Apps」をクリックする。
【3】 「eeasy」のアプリの右側にある「Remove」をクリックする。